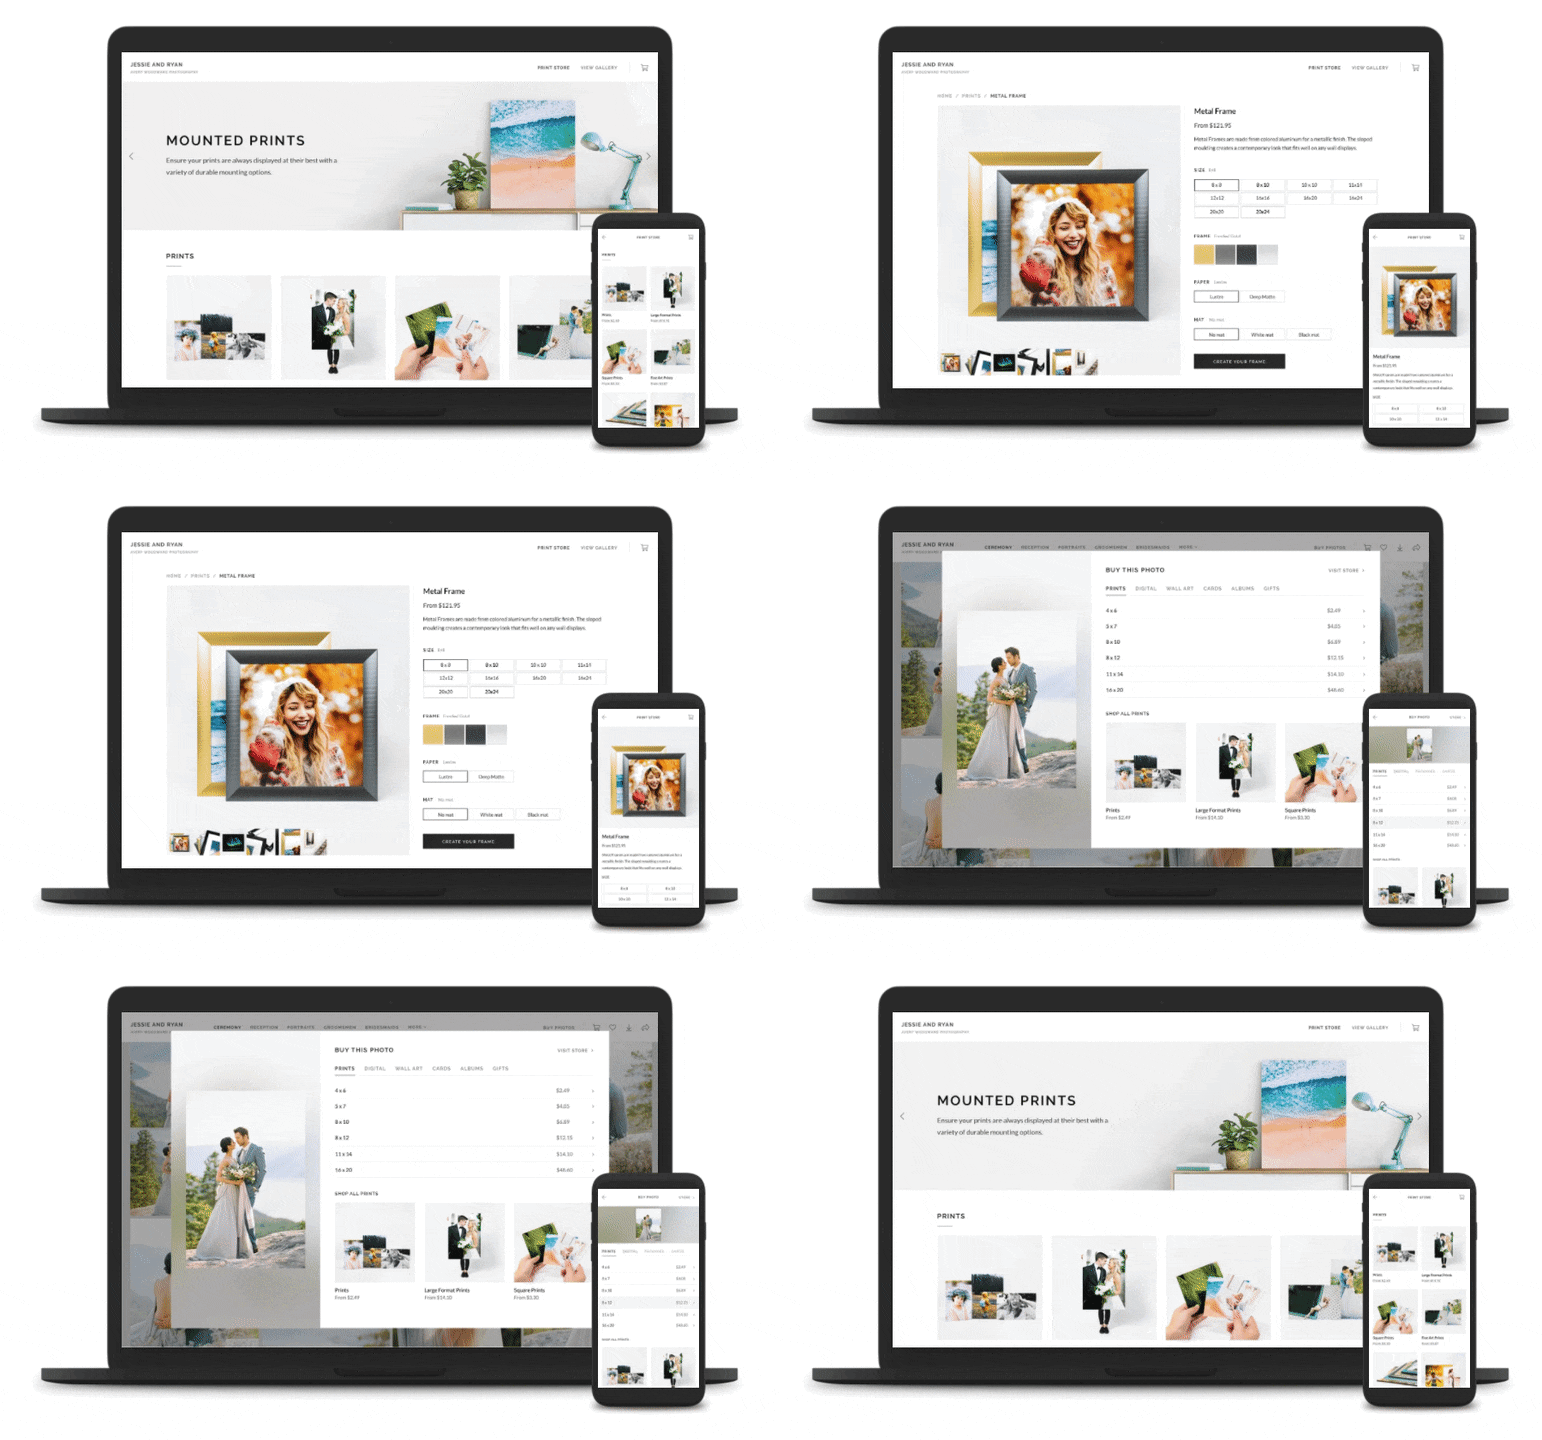
You can sell prints, digital downloads, and more through your galleries with Pixieset Store. To set up your Store, you need to decide what products you want to sell, and how you want to accept payments.
We have a great video tutorial going over these steps here: Setting up your Store Tutorial Video

On this page:
Reviewing your products
Price sheets determine your product pricing and the products available to your clients for purchase within collections. By default, there is an example price sheet created for you to get started. You can update the existing price sheet, or create brand new ones.
To create a new price sheet:
-
From the Products page (Store > Products) click + Add Price Sheet.
-
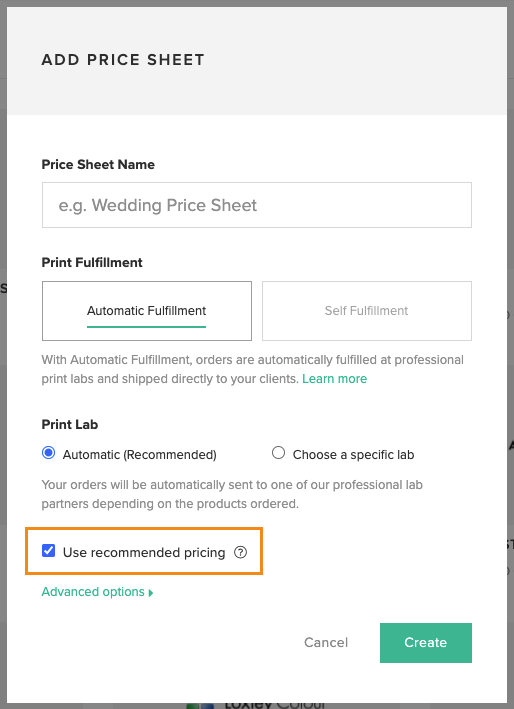
Give your new price sheet a name and select the fulfillment type. Automatic Fulfillment will set up your price sheet with one of our lab partners, so your orders will be printed and shipped to your client automatically. Self Fulfillment will allow your clients to place their orders in the gallery, where you will then arrange for printing and shipping yourself. Learn more: Order fulfillment options
-
With Automatic Fulfillment, you have the option to use our Recommended Pricing, which will automatically set the prices in your store according to our research and analytics to maximize sales and profits. This way you’ll be ready to start earning right away! With Self Fulfillment, you can automatically add commonly sold products to your price sheet, to save you some time getting set up.

-
Click Create, then review the price sheet to see the products available, and update your prices as necessary. Here, you can create packages, and add Digital Download or Self Fulfilled products to your Store. Learn more: Adding and Pricing Products in your Store
-
Assign your new price sheet to your Client Gallery collections. You can easily assign the new price sheet to all of your galleries at once, or set it as the default for new collections, using the ••• menu. Learn more: Assigning price sheets to galleries

Setting up checkout
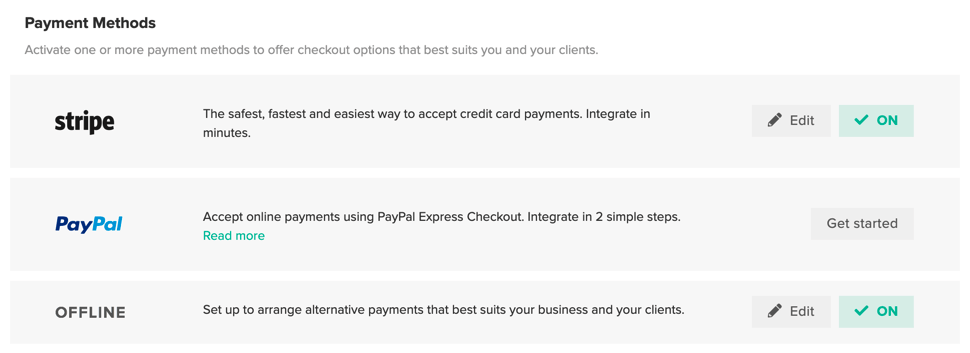
In order to accept payments and enable your checkout, so clients can finalize their purchases, you must have at least one payment method connected. You can choose to accept online payments with a debit or credit card via Stripe or PayPal, or with an offline payment method (only available with an upgraded Client Gallery plan). Your payment method determines how your clients will pay for their orders and how you'll receive your profits. Learn more: Connecting a Payment Method
Steps:
-
From your dashboard, go to Store > Settings.
-
Under to Payment Methods, click Get Started for the payment method you would like to connect. You can then follow the steps that appear to connect your Stripe or PayPal account, or enable Offline Payment.

-
Once you have enabled a payment method, you can click Edit at any time to change or disable that particular method for your Store.
Turning on your store
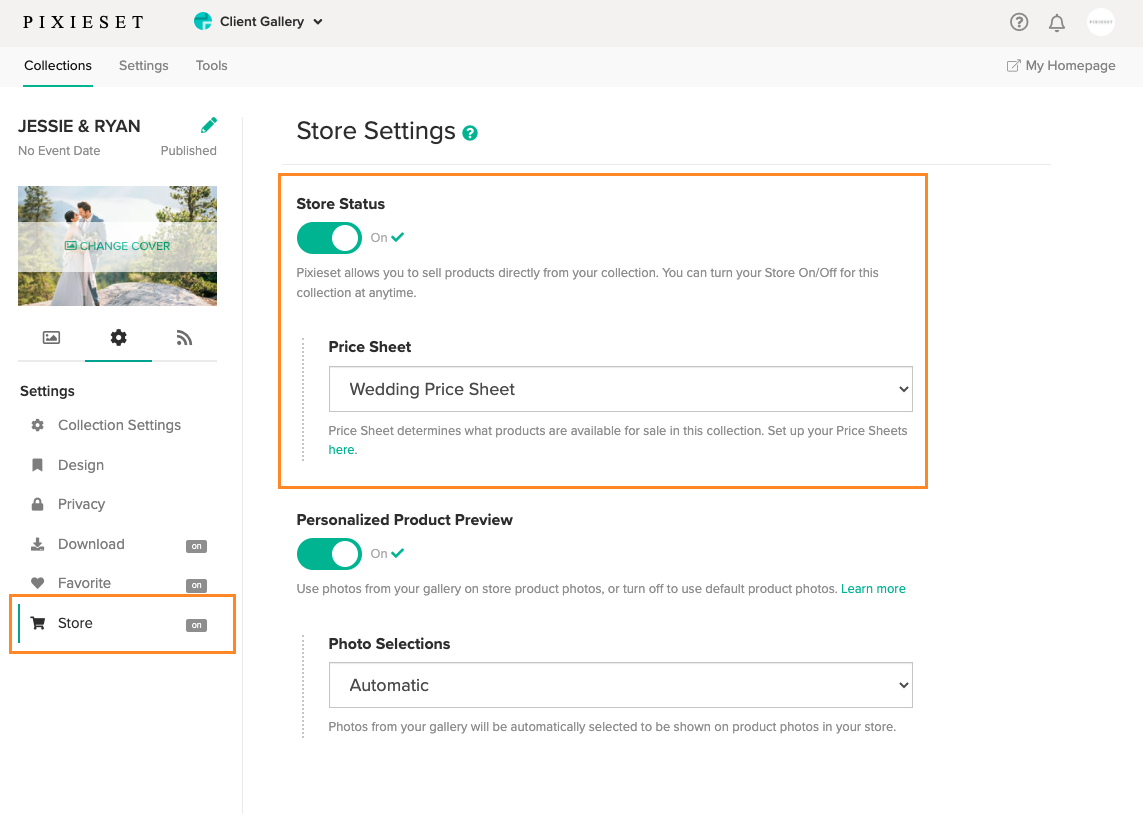
Once you have created your price sheet and connected a payment method, you’re ready to start selling! First, make sure your Store is turned on in your Store Settings (Store > Settings).

Then, go to the Client Gallery collection you want to sell from, and make sure the Store is enabled and your price sheet is assigned correctly. Learn more: How do I turn Store on?

That’s it! Check out the client view of your gallery (click View from the collection dashboard) to check out your Store in action.